
McClure Tables: The Jacobus Rock-Ola Shuffleboard Table Build
A few weeks ago, Paul Jacobus from Wisconsin was in Grand Rapids on a business trip and was able to take the time to come by and visit our shop. It was a perfect time for a visit as we had several different models in production. We actually were making a 20-foot Rock-Ola table for a customer who is coming to the shop tomorrow from Canada to pick it up. Paul loved the table so much that he decided to buy one for himself.
To showcase how we create tables at McClure, we will be taking photos of Paul’s table throughout the building process and updating this blog with news about the build. I often send pictures and emails to customers, as we like to make each table a collaboration between our craftsmen and the new table owner. However, this new blog will give you a real time view of how each of our products are made. It’ll be like you’re in the shop.
We’re now knee-deep in the middle of building a shuffleboard table for Paul Jacobus and wanted to detail the progress off his table so far. Check out the pictures below and gain some insight on how we build all of our shuffleboard tables at McClure Tables.
Cutting The Legs

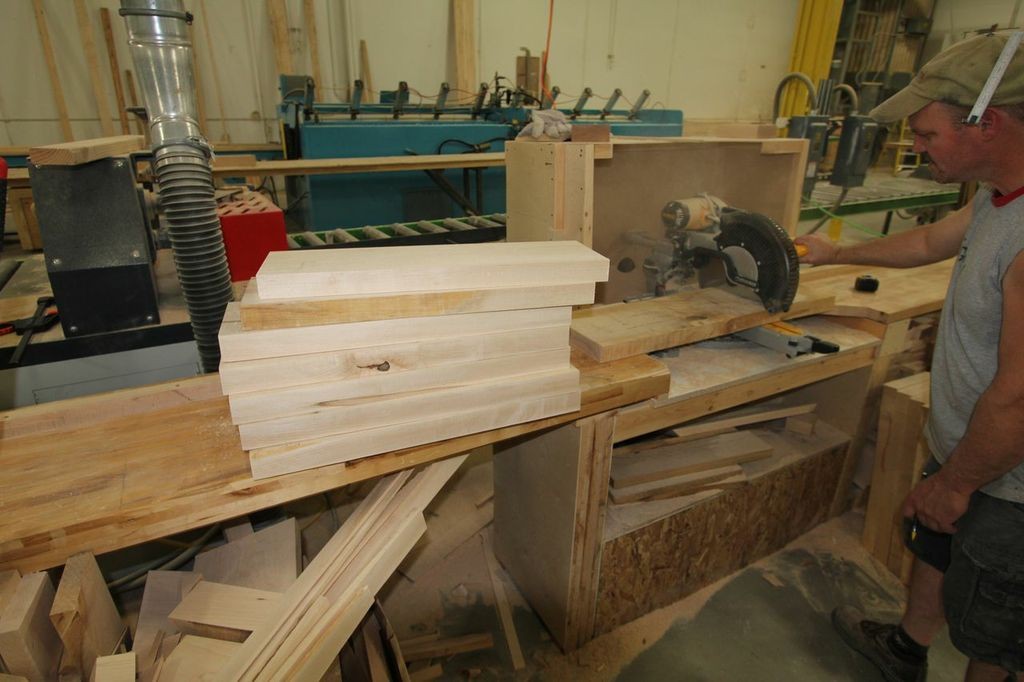
On models like the Rock-Ola or Veneto, almost half the woodworking is all in the legs. Jim, one of our table builders, has put six hours in working on the legs for Paul’s table. Sometimes if we have a few in production, we will go ahead and have him stay busy making high end leg parts for a few days. We will still have a little more machine work to do when he assembles the legs, but they are 80% done here in these pictures.
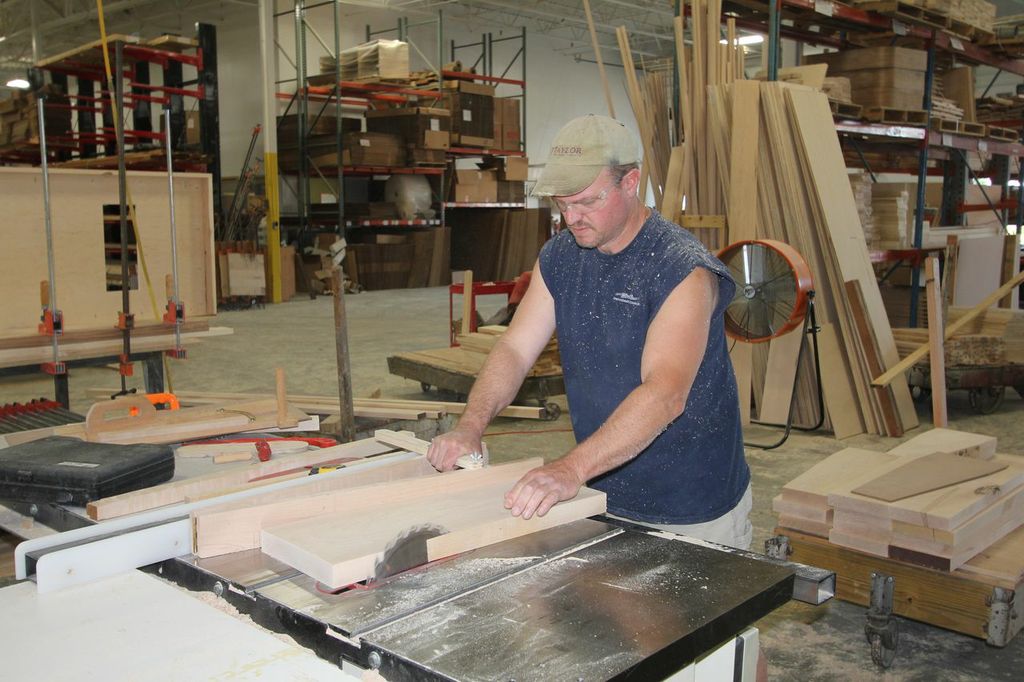
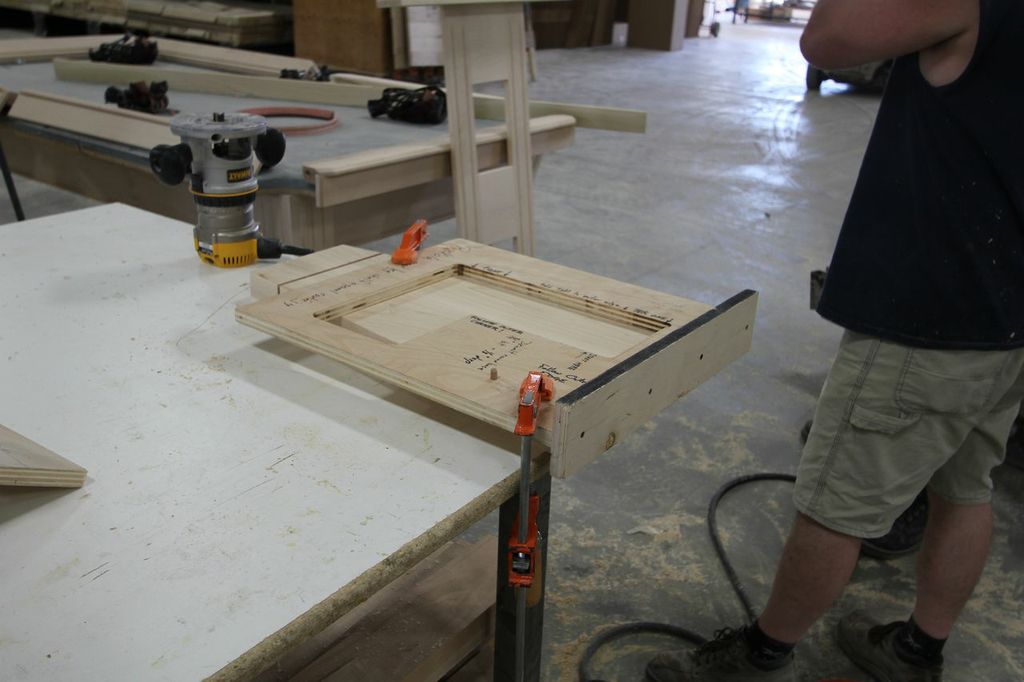
Using some patterns and jigs Jim has set up, he will put in rabbit, daddo cuts and cut out sections of the legs. The end legs are larger and have a shelf, so they will require different machining than the middle legs.
It takes a total of about six hours in machine time and work to just make the six pieces for these center legs and then four more hours for the end legs.
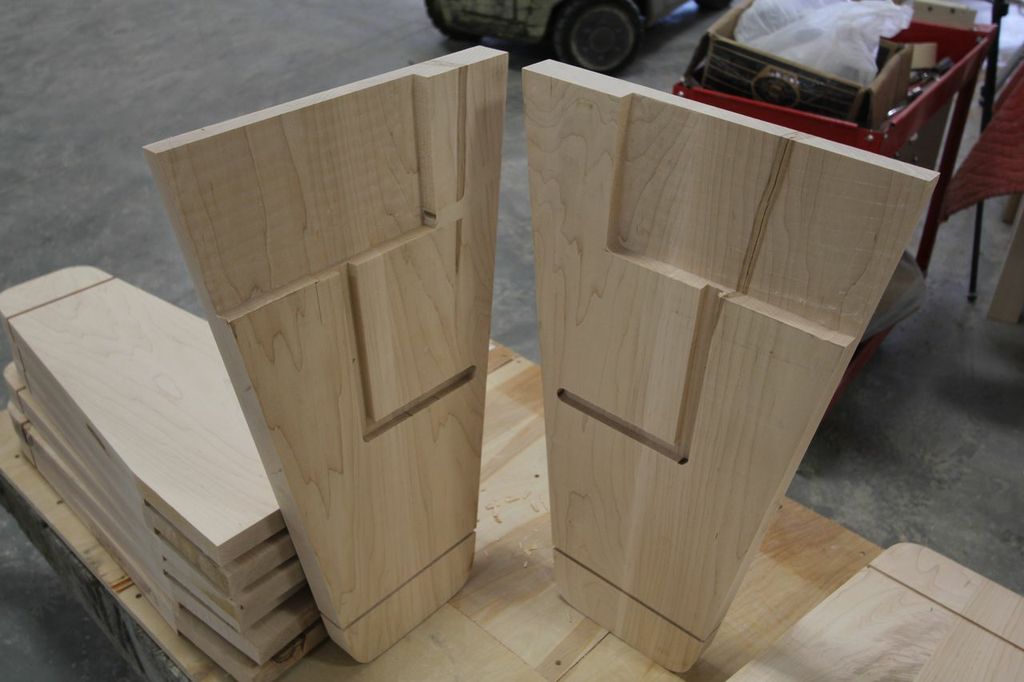
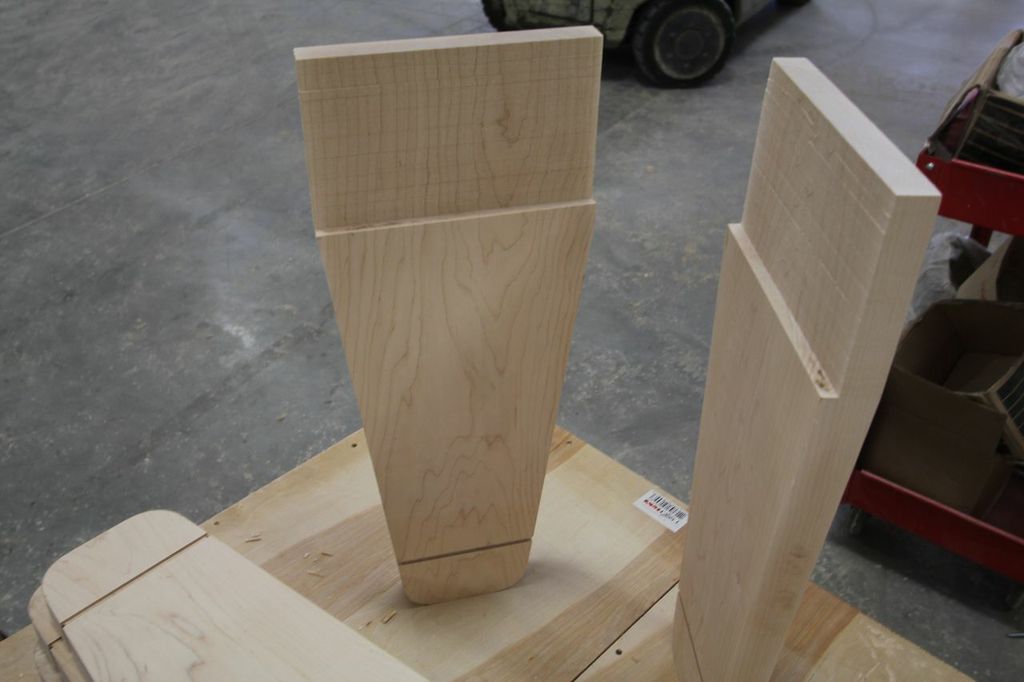
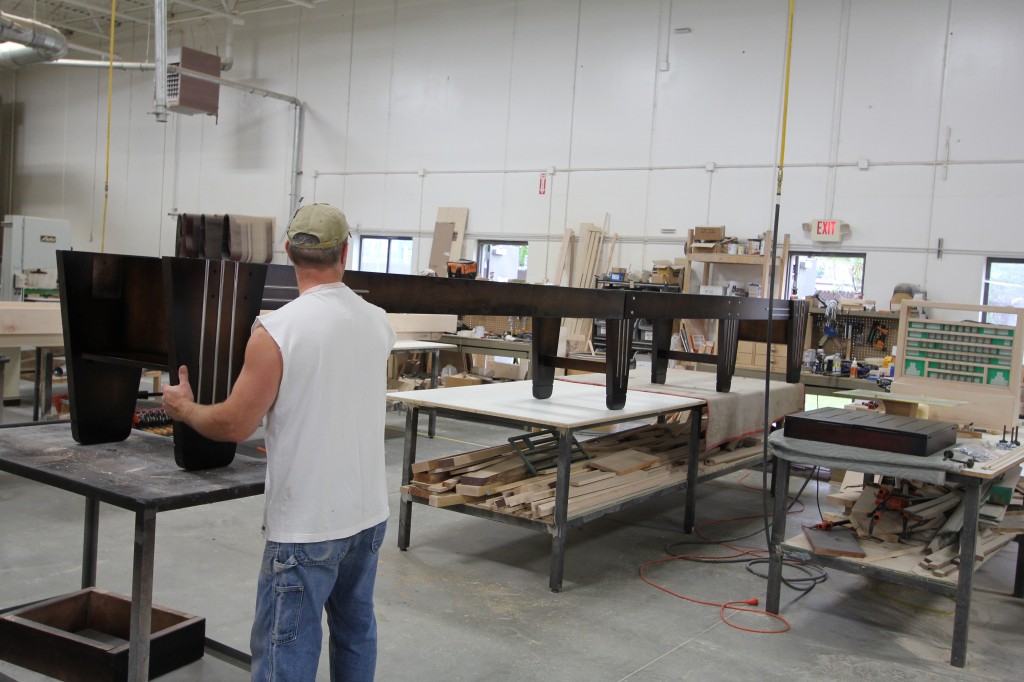
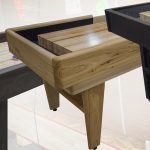
In the photo above you can see the end legs for Paul’s 20-foot Rock-Ola shuffleboard table. Most of our shuffleboard tables feature four legs, but on the original Rock-Ola tables from the late 1940s, the tables included five legs. Â For this table, Â we are replicating that feel and have built five legs, with six left and right blanks for three middle legs and four end leg blanks.
Assembling The Legs
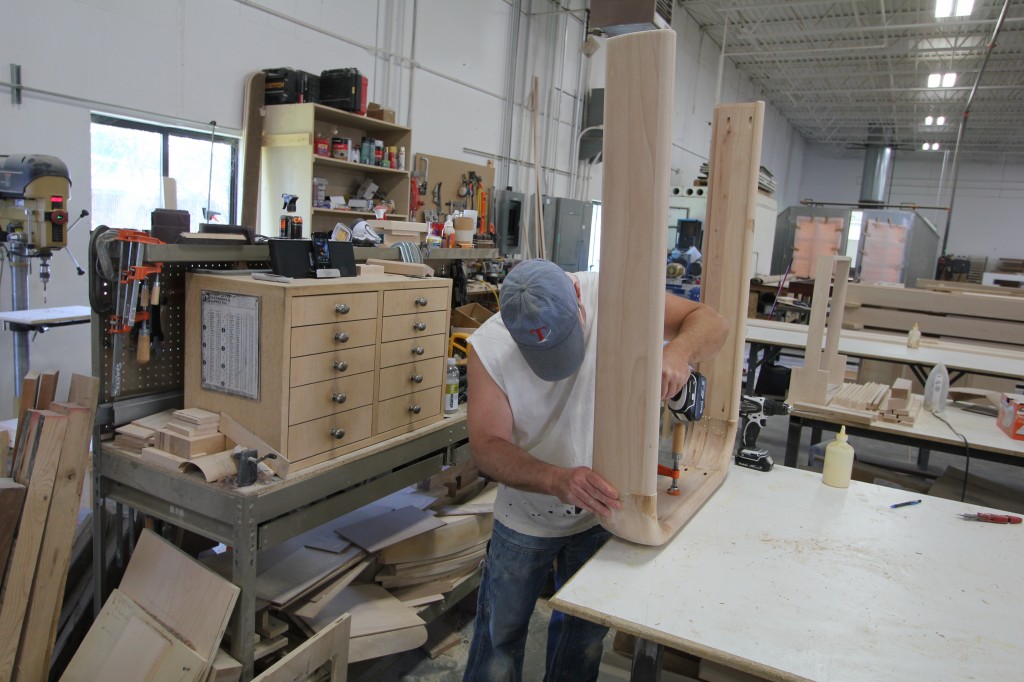
Now we are almost ready to glue up the parts after most of the shaping has been done. Jim just has to do a little final checking of the measurements and inspect each part with care before the final assembly and glue up.

Once the final inspection is done, all of the parts will be laid out and we will start to assemble the end and center legs for the Rock-Ola shuffleboard.


Now the legs will sit overnight and soon be ready for some detailed hand sanding, which we call case cleaning in the wood working industry. Most furniture makers will sand the product at this stage for the finish. However, the finish person will inspect the work and usually sand one more time with a very fine 180 grit paper before he is ready to apply any stain or dye to the wood.
Stay tuned for more updates on Paul’s table as we continue the build and start the next step of creating the cabinet from scratch. You’ll be able to see how a shuffleboard table comes together and witness the intense woodwork that comes along with each part of the building process.
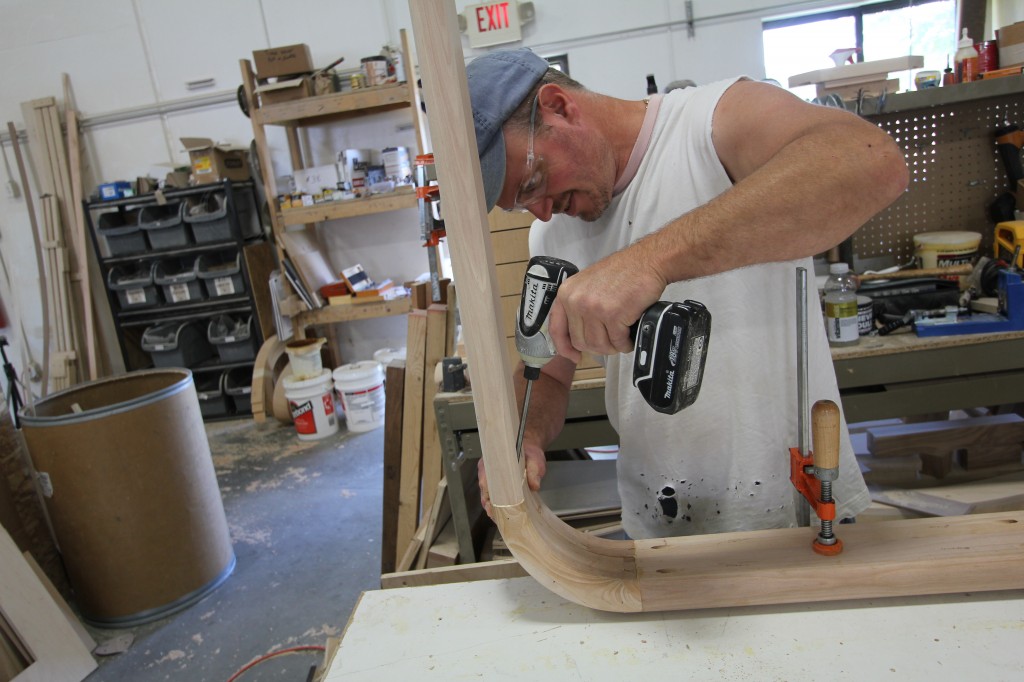
Creating The Horse Collar
Jim is now working on assembling the solid wood horse collar corners and side aprons. The sides and end aprons are made on a molder out of solid soft maple that is glued up. The corners were shaped on a molder. Now the parts are assembled with screws glues and dowels.
The horse collars will need to sit up overnight before they are ready for finish. We make these in both walnut wood or maple, but the original Rock-Ola shuffleboard tables were made with birch. They had a red mahogany finish at the factory and this often led to confusion in terms of the type of wood use. Some antique dealers will actually call the antique table horse collars mahogany. In all years of checking out Rock-Ola tables, we have never seen that wasn’t birch. For our replica Rock-Ola tables, we use soft maple for the horse collar and corners because it is easier to shape than hard maple. It tends not tear as much on the molders and shapers.
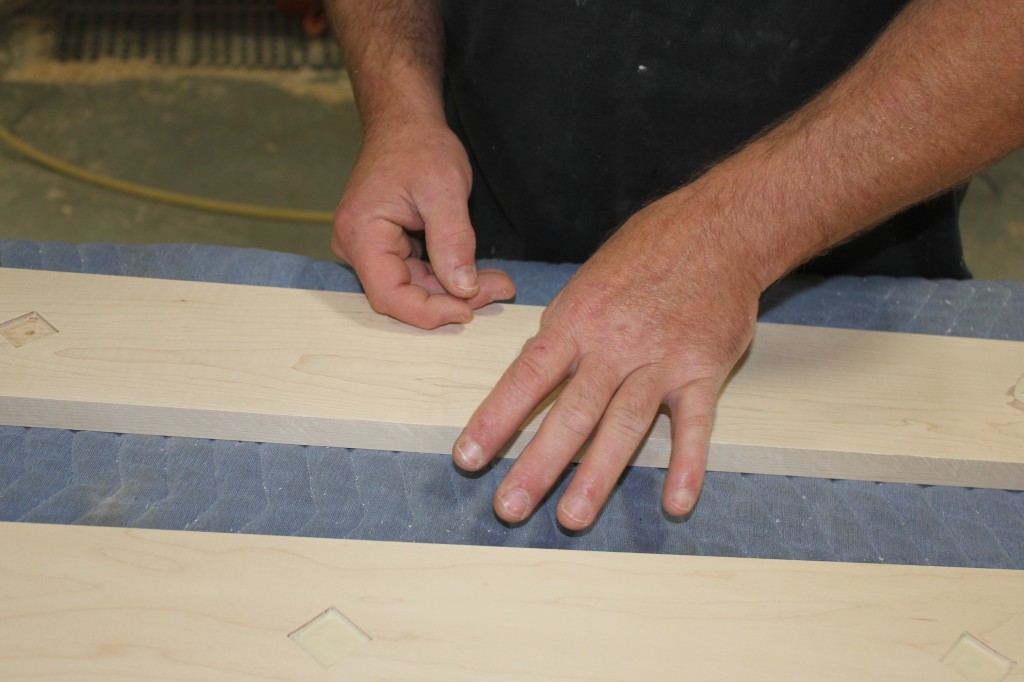
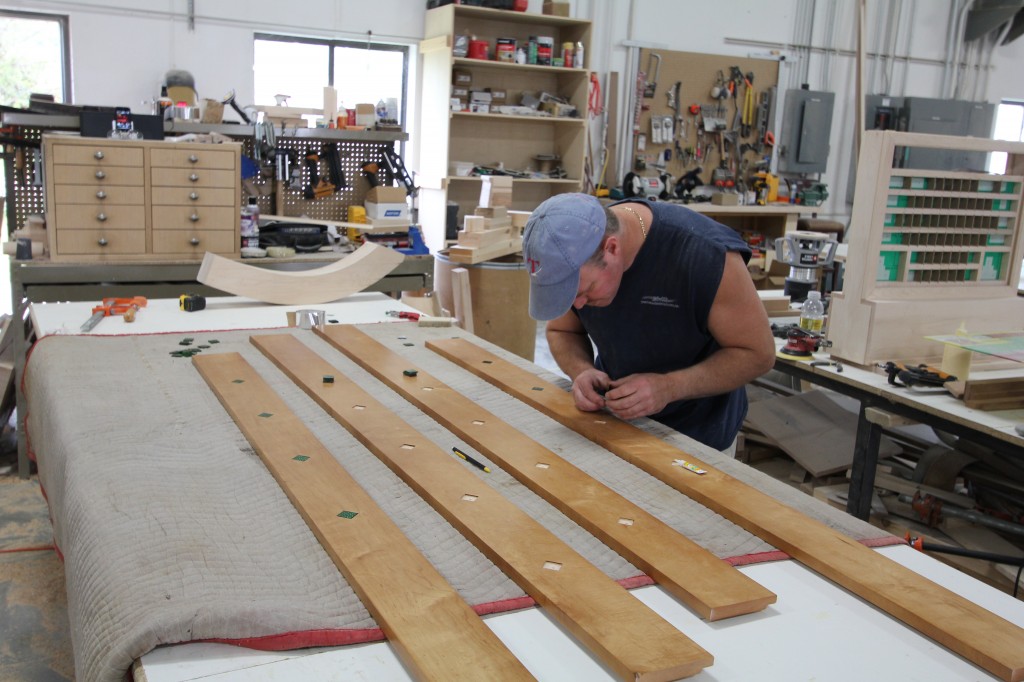
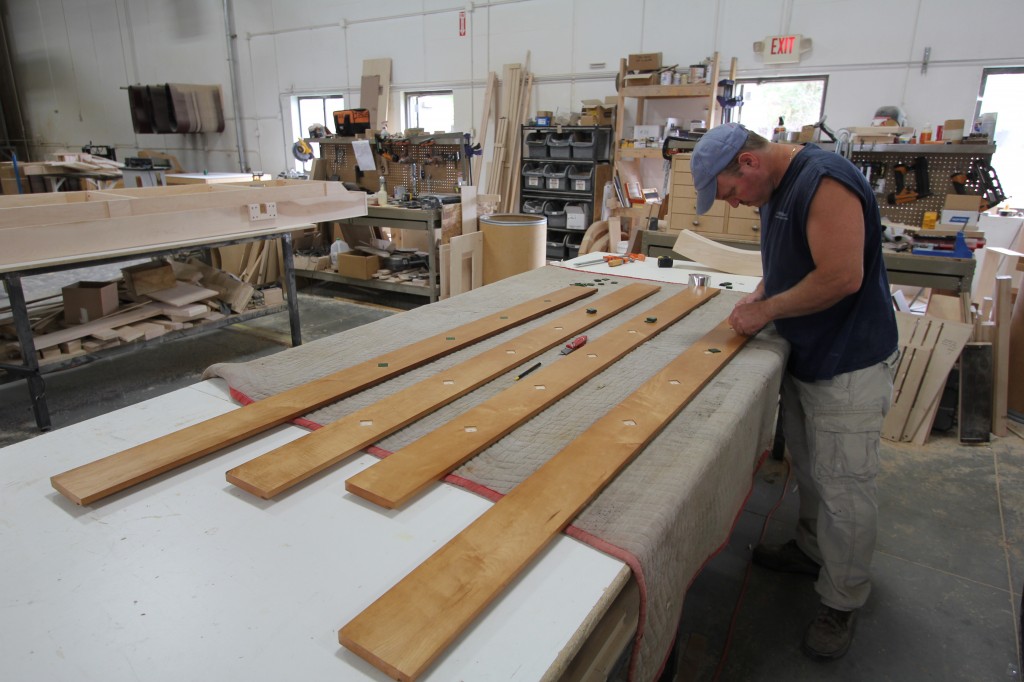
While the horse collars are clamped and the glue is setting, the side apron diamonds are cut by hand with a small pin router. In the photo below, each diamond is checked for exact size and some final touch up work is done by hand with a wood chisel.
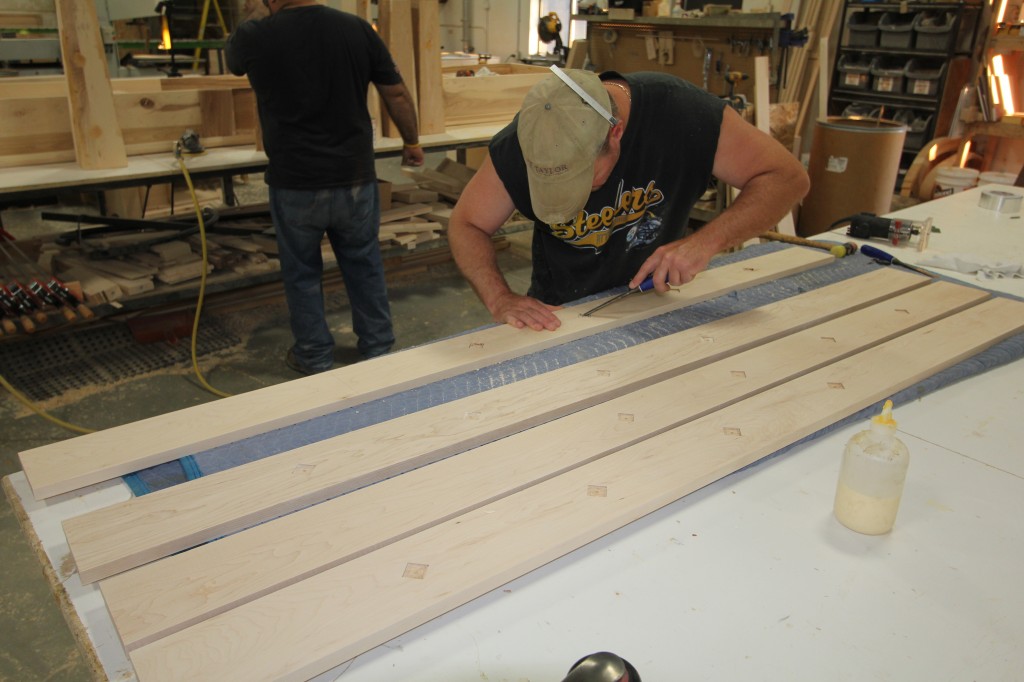
Here the diamond inlays are taped off before they are finished as the side aprons and horse collars will now move on to be stained and colored. After the coloring process is finished, the carpet on the deck and the leather upholstery horse collar pads will be done. In our next update, we will check in on Jerry as he works on finishing up some of the more artistic elements of the shuffleboard table.
Painting And Finish
Now that all the leg parts have been machined and the horse collar is assembled, the table is now ready for the finish. We first start by case cleaning and sanding each part, both by hand and with handheld sanders. Once the sanding and preparation is finished the first step is to apply the base spray color coat to the wood.
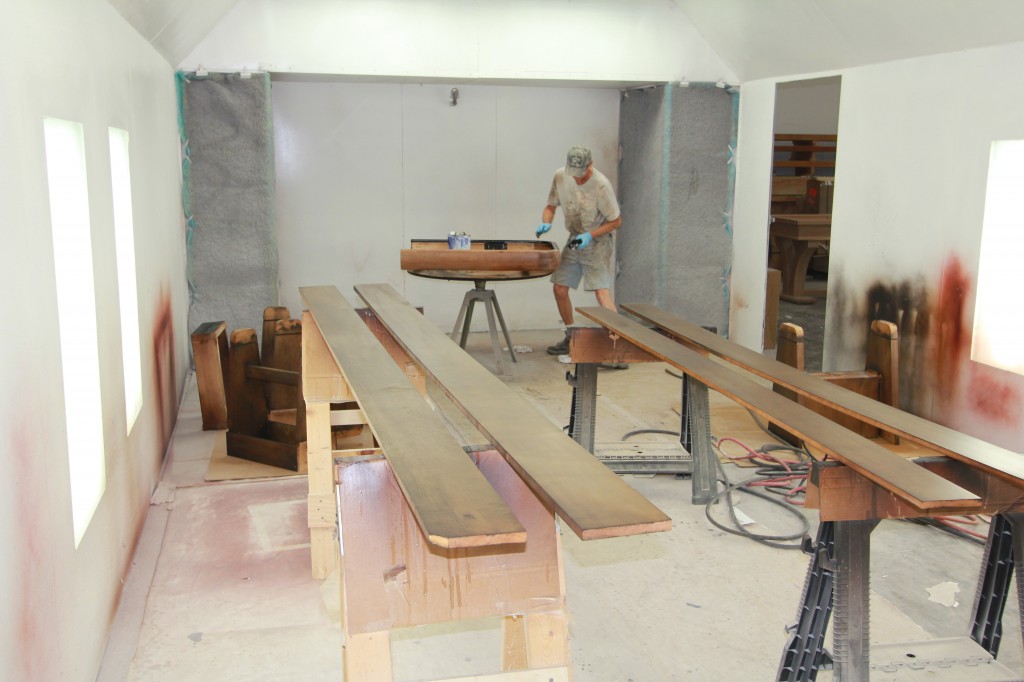
In the picture above, Jerry puts down the base color. Notice the color is a light brown. This base coat is a glaze that is applied by hand rubbing and wiping to add depth and richness to the wood.
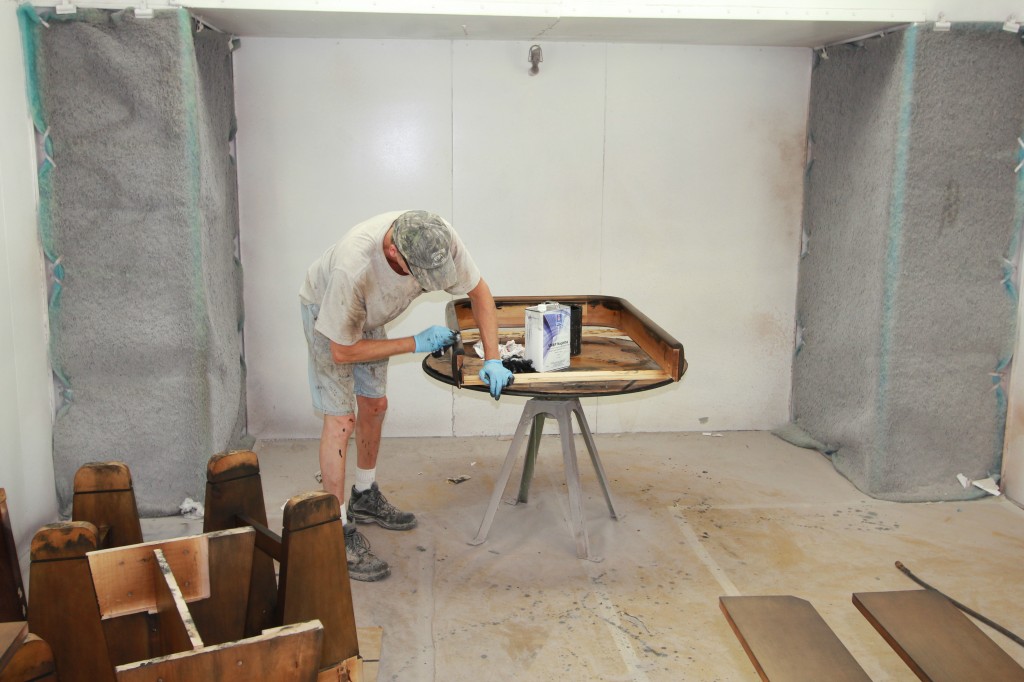
Jerry will apply the glaze, rubbing it deep into the grain of the wood and, with a dry towel or rag, wipe the excess glaze off. The effect adds a rich antique look to the wood with some highlighting and shading that enhances the beauty of the finish.
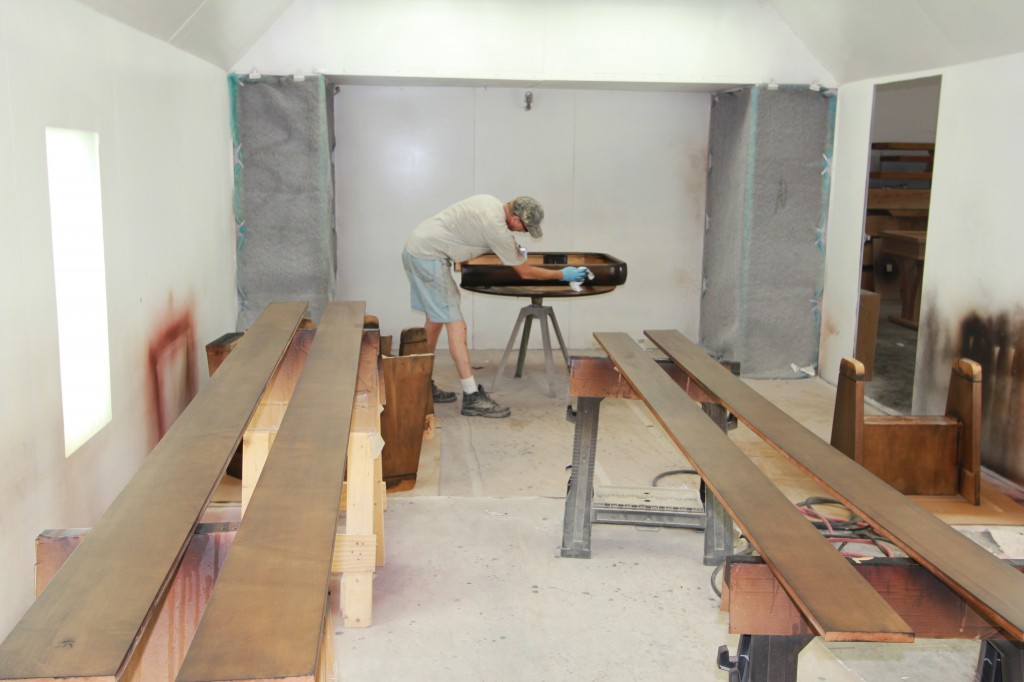
After each piece has had the color hand rubbed into the wood the next step is with a spray gun with a fine point. Jerry will shade in some of the edges and color, while also painting the bottom part of the legs black, the same as the originals from 1949. The original Rock-Ola tables were not done with this type of finish work. Actually they were made for commercial locations and they produced several thousand of them per year in a mass produced assembly line production operation. Today we make a few dozen models per year, each one is handcrafted.
Check out the video below of Jerry working on the finish of Paul’s Rock-Ola table:
In the next update, we will show you the final assemble of the parts, the fitting of the trim and upholstery of the padded leather horse collars.
Stamping and marking the board
The antique Rock-ola tables were stamped and numbered and we do the same today even down to the details of “Do Not Drop Wates On Board” We can not figure out where they came up with that spelling of the word for the pucks or often they are called weights. Because every detail is down to the exact specifications as the originals we keep it with the same misspelling for the word Weights. See Todd McClure Below marking the play-board for the Jacobus family

Final Fit and Assembly
UPDATE: After the parts have all been finished, Jim will inlay the glass diamond sites into the side apron rails that have been finished. The diamond cut out was masked off with tape during the finishing process and now each piece of glass must be hand fit and glued into place. See the pictures below where Jim works on the diamond glass:
Green diamond glass is used just like on the original tables we found the same style and color of glass and inlay into the side aprons.
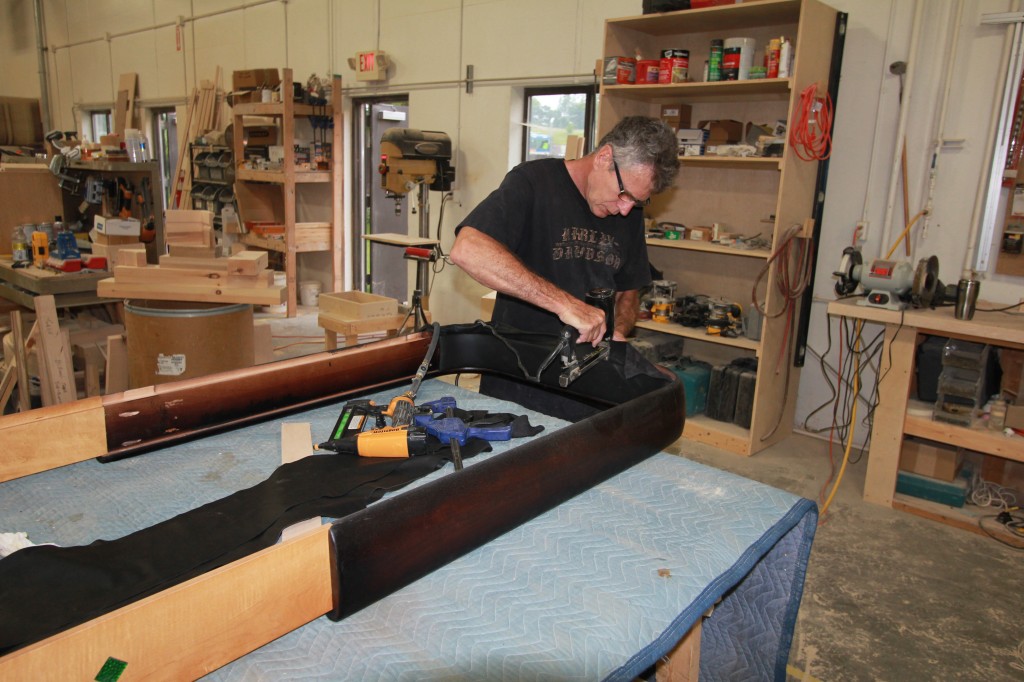
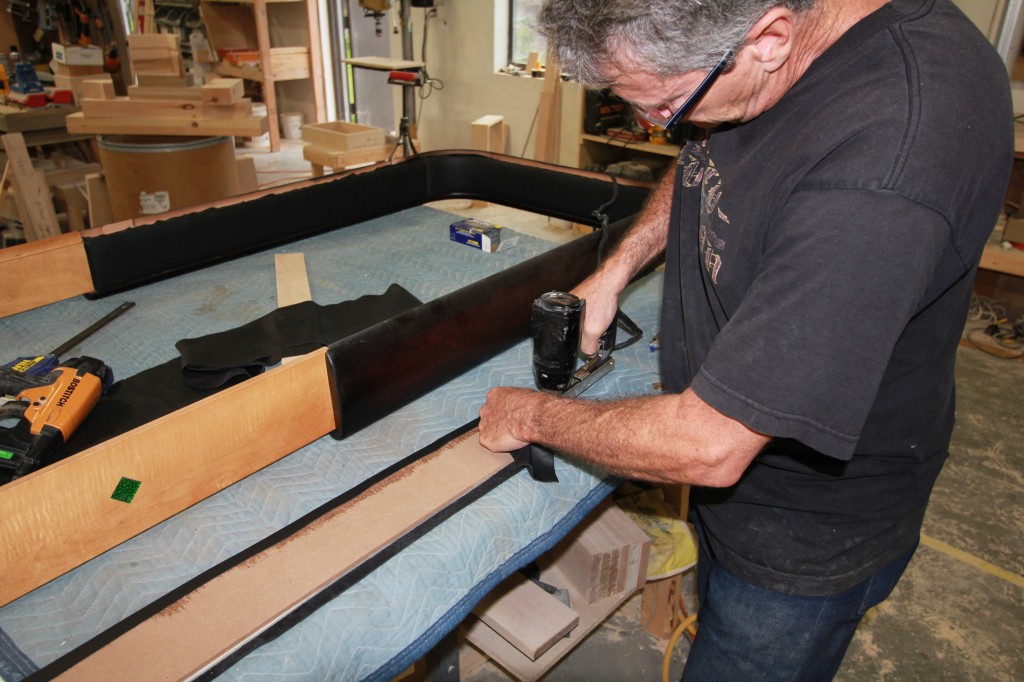
It’s time to fit the side aprons and attach them to the end of the table called the horse collar. Jim will fit each side apron rail and mortise and glue them into place. Then the horse collar can have the leather upholstery attached.
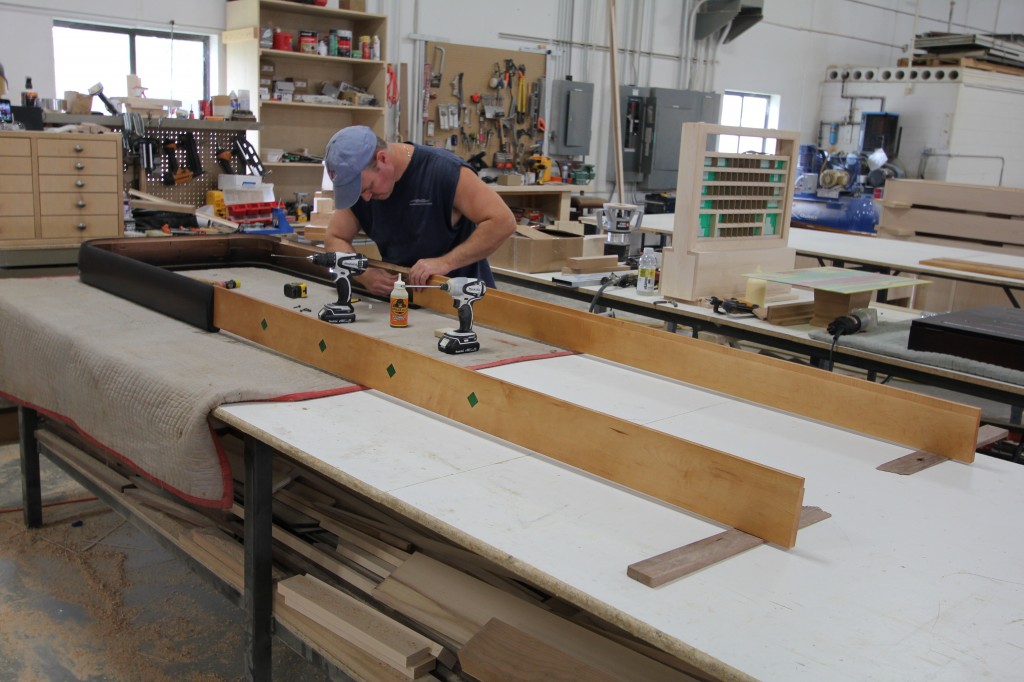
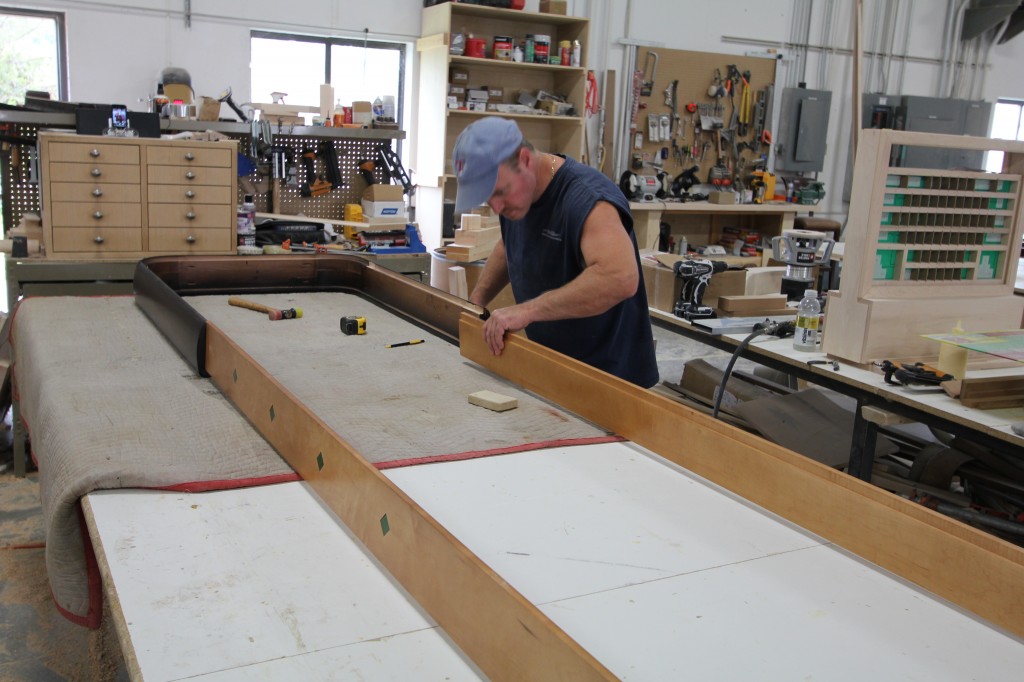
Now the horse collar is ready for the upholstery that is made with genuine leather. We attach foam to some pads that must be bent and shaped into the same shape as the horse collar. This is where our owner Todd McClure past history in the pool table business comes in handy. The upholstery of the pads is very similar to installing the cloth on pool tables. Every Rock-Ola table we make the upholstery is done by Todd McClure.
Once this is finished they will install the deck with the carpet and fit the whole piece to the horse collar and aprons sides. After this is done, we will have to install the metal trim pieces to the legs and the stretchers that bolt to the legs.
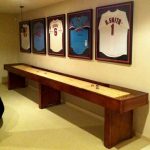
After each metal stainless steel trim is attached we have a total of 38 pieces of trim that are installed on a 22-foot or 20-foot Rock-Ola shuffleboard Table. Each leg has three chrome strips on each side, and just the process to fit and trim a Rock-Ola shuffleboard Table is a full day of work. From here on out, the rest of the process is a matter of assembling the table, which will end up looking the table below:


I am looking for some of the glass diamond inlays for an original Rock-ola schuffleboard table. Also some carpet if possible or a source. The bottom of the wood slab has no holes that would have been for adjusters. Did the originals have climatic adjusters an d do they need them? Thank you John
A lot of originals did not have climate adjusters you can replace with our new large Climate adjusters here We do not have the glass color any more the supplier no longer makes that exact same glass.
My name is Brad Robertson. I work at Holston United Methodist Children’s Home in Greeneville, TN.
|
We are currently building a Christian Activity Center for our kids and would like to have a durable shuffleboard table. Possibly one that is not easily scratched up and that has a carpeted surface.
Is this something you could design and build for us?
Thanks
Yes we can contact us at sales@mccluretables.com
I am building my own 20 ft shuffle board table. Do you sell the carpet by chance? Thanks Layne Yorktown Tx 281-734-6882
We can sell you the carpet contact us at sales@mccluretables.com